Tired of watching your fresh garlic cloves sprout, shrivel, or spoil before you can use them all? Imagine always having pungent, flavorful garlic at your fingertips, ready to elevate any dish, without the hassle of peeling and mincing every time. The secret lies in a simple, age-old preservation technique: dehydration. Learning how to make garlic flakes and dried minced garlic at home is a culinary game-changer. It’s not just about convenience; it’s about unlocking superior flavor, saving money, and taking control of the ingredients in your pantry. Forget the bland, chemically treated versions from the grocery store – your homemade dried garlic will be a testament to fresh, unadulterated taste.
This comprehensive guide will walk you through everything you need to know, from preparing your garlic to mastering various dehydration methods and storing your homemade treasures. We’ll explore the benefits of DIY dried garlic and provide practical tips to ensure your efforts yield perfectly crisp, aromatic flakes and minced garlic every time. Get ready to transform your kitchen and extend the shelf life of your favorite allium indefinitely!
Why Make Your Own Garlic Flakes & Dried Minced Garlic?
While convenience often drives us to store-bought options, there are compelling reasons to take the homemade route for garlic flakes and dried minced garlic. The advantages extend beyond mere culinary satisfaction, touching upon health, economy, and environmental impact.
- Unmatched Flavor and Quality: Store-bought dried garlic can often taste stale or lack the vibrant punch of fresh garlic. When you make your own, you control the quality of the raw ingredient. Starting with fresh, aromatic cloves ensures that the dehydrated product retains a much richer, more potent flavor that will truly shine in your cooking.
- Cost-Efficiency: Buying bulk garlic cloves is significantly cheaper than purchasing small jars of pre-packaged dried flakes or minced garlic. This becomes even more apparent if you use garlic frequently. A little effort upfront translates into considerable savings over time.
- Avoid Unwanted Additives: Many commercial dried garlic products contain anti-caking agents, preservatives, or other fillers to maintain texture and appearance. By making your own, you ensure that your dried garlic is 100% pure garlic – nothing more, nothing less. This is particularly important for those with dietary sensitivities or a preference for clean eating.
- Extended Shelf Life: This is arguably the most significant benefit. Dehydration removes the water content from the garlic, which is the primary catalyst for spoilage. By eliminating moisture, you drastically increase the shelf life of your garlic, making it pantry-stable for months, if not years. No more throwing away sprouted or rotten cloves!
- Ultimate Convenience: Having pre-peeled, pre-sliced, or pre-minced dried garlic means you always have garlic on hand, ready for immediate use. It’s perfect for those busy weeknights when you don't have time for prep, or for camping trips and emergency pantries.
The Essential First Step: Garlic Preparation
Regardless of your chosen dehydration method, proper garlic preparation is crucial for uniform drying and optimal results. This foundational step ensures your flakes and minced garlic dry evenly and efficiently, preventing some pieces from becoming over-crisp while others remain chewy.
Peeling Garlic Cloves
Peeling can be the most time-consuming part, especially if you're processing a large batch. Here are a few tricks to speed up the process:
- Smash and Peel: Place a clove on a cutting board, lay the flat side of a chef’s knife over it, and give it a firm whack with the heel of your hand. The skin will loosen instantly, making it easy to peel away.
- Shake It Up: Place several unpeeled cloves in two metal bowls (or a container with a lid), put one bowl on top of the other to create a sealed sphere, and shake vigorously for 30-60 seconds. The friction will cause the skins to separate.
- Hot Water Soak: Briefly immerse the cloves in hot water for about 30 seconds. This helps loosen the skins, making them much easier to slip off.
Slicing for Flakes
For garlic flakes, uniformity is key. Aim for a thickness of **1/6 to 1/8 inch**. This consistency ensures that all your garlic slices dry at roughly the same rate.
- Using a Sharp Knife: While precise, this method requires a steady hand and patience. Take your time to create even slices.
- Using a Mandoline Slicer: This is the recommended tool for achieving perfectly uniform slices quickly and safely. Set the mandoline to your desired thickness, and always use the safety guard to protect your fingers. A consistent slice thickness is paramount for even dehydration, preventing some pieces from burning while others remain moist.
Mincing for Dried Minced Garlic
If you're aiming for dried minced garlic, the process is slightly different after peeling:
- Food Processor: This is the most efficient method for mincing a large quantity of garlic. Place the peeled cloves in the food processor and pulse until finely minced, being careful not to over-process into a paste.
- Sharp Knife: For smaller batches, a sharp chef's knife can be used to finely chop the garlic by hand. Gather the garlic, chop, and repeat until you reach your desired minced consistency.
Mastering the Dehydration Process: Three Methods
Once your garlic is prepared, it's time to remove its moisture. You have three primary methods at your disposal, each with its own advantages. For detailed comparisons and specific nuances of each, you might find more insights in our related article: DIY Garlic Flakes: Dehydrator, Oven, Air Dry for Perfect Results.
1. Using a Food Dehydrator
A food dehydrator offers the most controlled and efficient way to dry garlic, providing consistent results.
- Preparation: Arrange your garlic slices or minced garlic in a single, thin layer on the dehydrator trays. Avoid overcrowding to allow for proper air circulation.
- Temperature and Time: Set your dehydrator to approximately 66ºC (150ºF). The drying process typically takes **6 to 8 hours**, though it can be shorter (4-6 hours) in very humid environments.
- Checking for Doneness: The garlic is ready when it is completely dry and brittle. To test, take a piece and try to bend it. If it snaps cleanly, it's done. If it’s still pliable, continue dehydrating. Rotate your trays periodically to ensure even drying across all levels.
2. Oven Dehydration
If you don't own a dehydrator, your oven can serve as a viable alternative, though it requires a bit more vigilance.
- Preparation: Spread the garlic in a single layer on parchment-lined baking sheets. Parchment paper prevents sticking and makes cleanup easier.
- Temperature and Time: Set your oven to the lowest possible temperature, ideally between 54-66ºC (130-150ºF). If your oven doesn't go that low, set it to its lowest setting and prop the oven door open slightly (a few millimeters) with a wooden spoon or heat-safe object. This allows steam to escape and prevents the garlic from cooking instead of dehydrating.
- Monitoring: Check the garlic every hour. The drying time can vary significantly based on your oven's temperature control and how wide the door is propped open. The garlic is fully dry when it's crispy and snaps easily. If it's still flexible, it needs more time. Be careful not to let it brown or burn.
3. Air Drying
The simplest method, air drying, requires no special equipment but is highly dependent on environmental conditions.
- Preparation: Lay the garlic slices or minced garlic in a thin, single layer on baking sheets or clean paper-lined surfaces. Ensure they are not overlapping.
- Environment: Place the sheets in a well-ventilated area. A warm, dry room is ideal. Proximity to a window with sunlight can accelerate the process, but direct, intense sun might cook it. This method is best suited for climates with low humidity and moderate temperatures.
- Monitoring: Turn the garlic over regularly (at least once or twice a day) to promote even drying and prevent sticking. This method is the slowest, typically taking **two to three days**, possibly longer, depending on the thickness of the slices and ambient temperature and humidity. The garlic is ready when it's completely dry and brittle. For more in-depth comparisons of these methods, check out our resource: Homemade Garlic Flakes & Dried Minced Garlic: 3 Easy Methods.
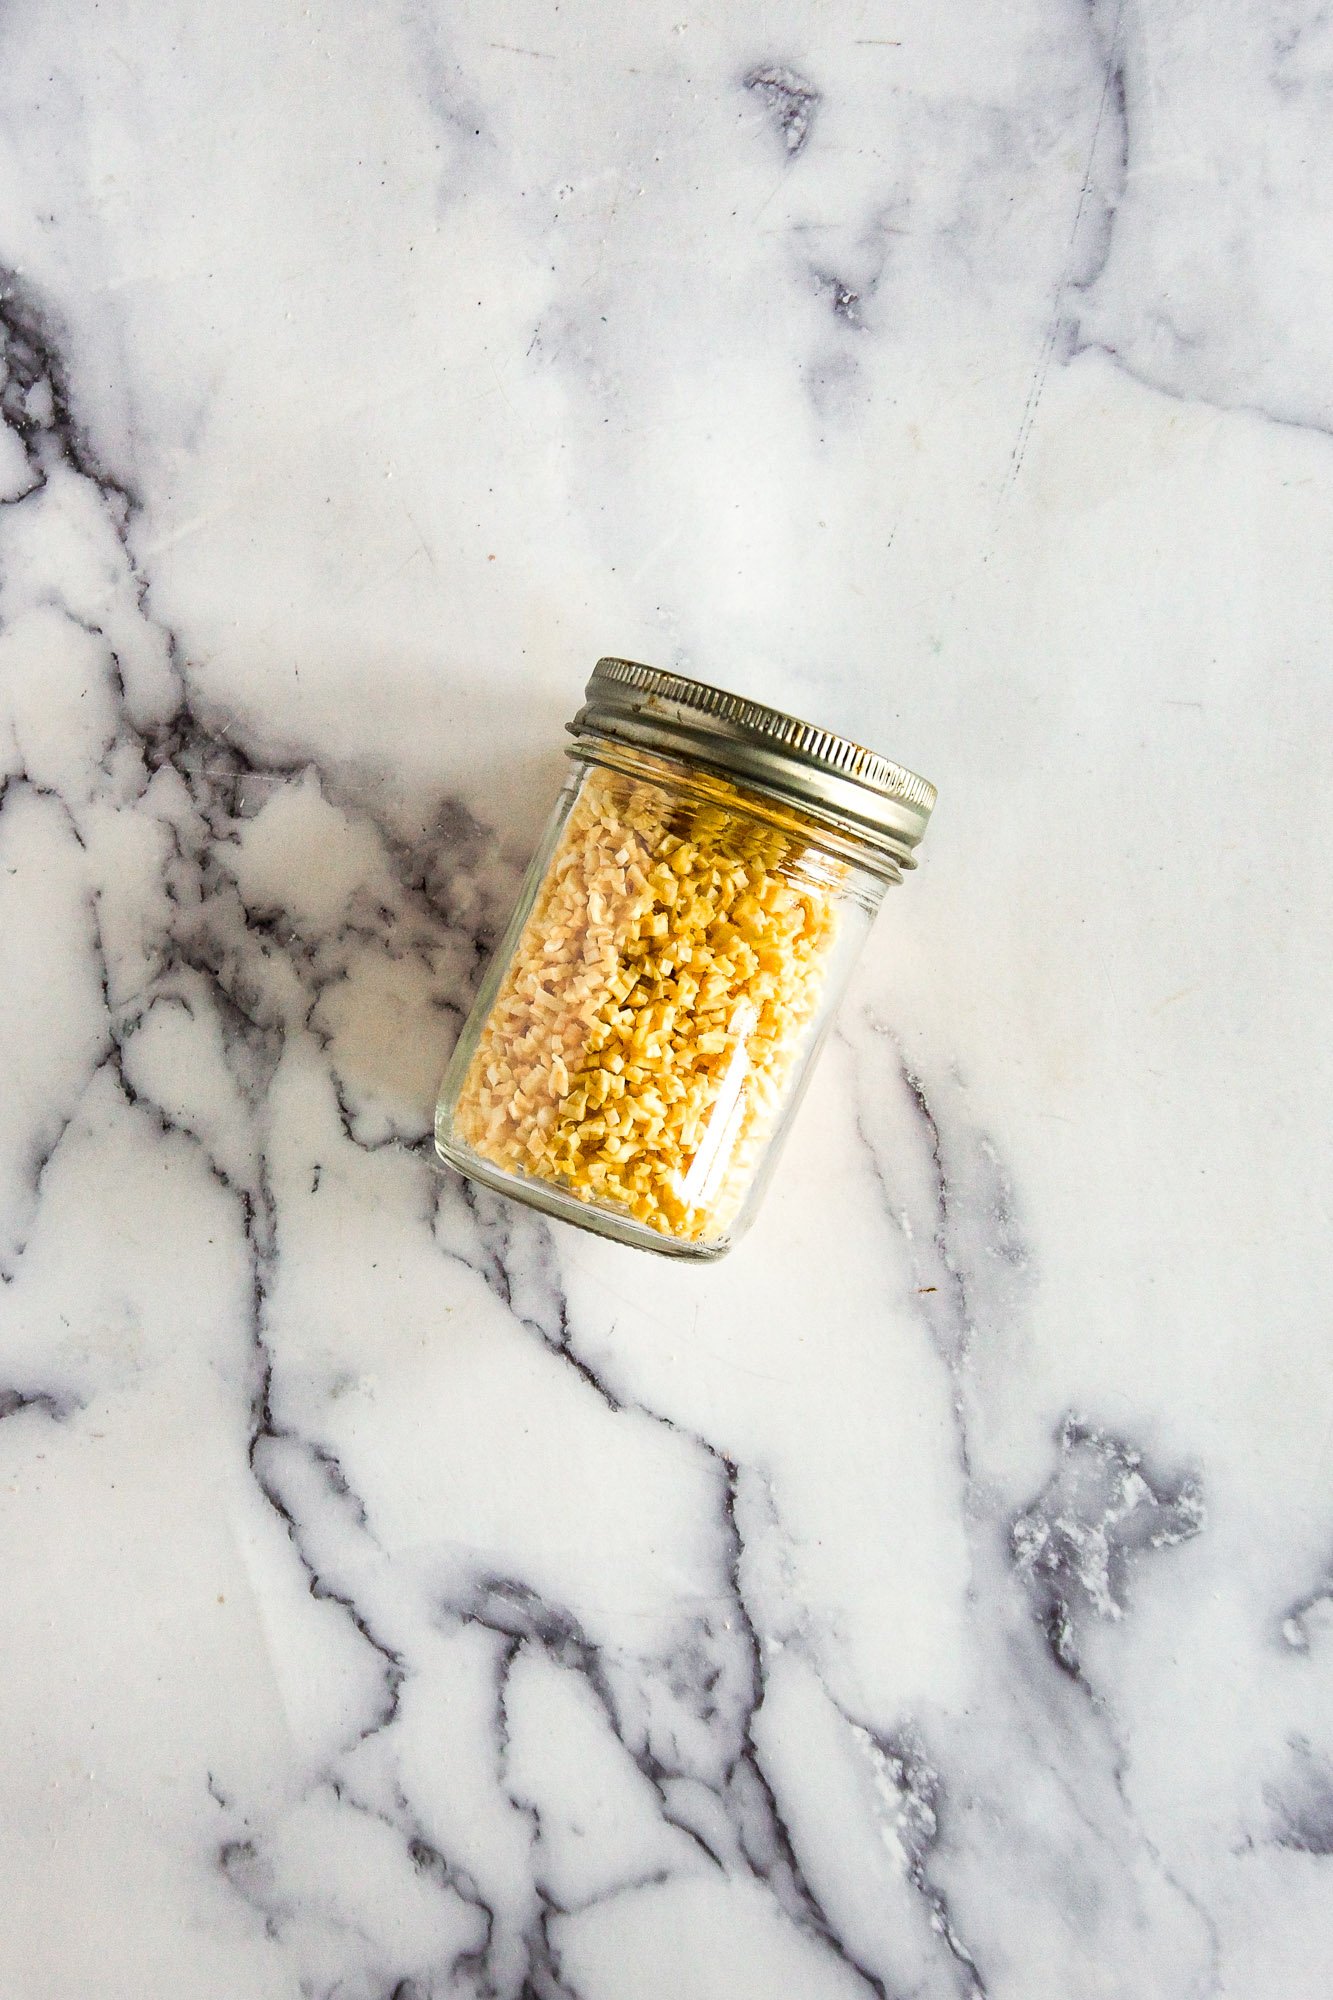
Storing Your Homemade Garlic Treasures
Once your garlic flakes and dried minced garlic are perfectly dry and brittle, proper storage is paramount to maintaining their potency and extending their shelf life. Incorrect storage can lead to moisture reabsorption, reducing their crispness and potentially causing spoilage.
- Cool Down Completely: Before storing, allow the dried garlic to cool completely to room temperature. Storing warm garlic can create condensation inside the container, trapping moisture and leading to spoilage.
- Airtight Containers: Transfer your dried garlic to airtight glass jars or containers. Glass is preferred as it doesn't absorb odors and provides a good seal. Ensure the lid is tightly secured.
- Cool, Dry, Dark Place: Store the sealed containers in a cool, dry, and dark location, such as a pantry or cupboard. Exposure to light, heat, or humidity can degrade the garlic's flavor and color over time. Avoid storing near heat-generating appliances.
- Humidity Absorption (Optional but Recommended): For an extra layer of protection against moisture, consider placing a small food-grade desiccant packet or a tablespoon of uncooked rice or dry beans (tied in a cheesecloth sachet) at the bottom of the jar. These natural desiccants will absorb any residual humidity, helping to prevent clumping and maintaining crispness.
- Shelf Life: While homemade dried garlic can last for a very long time, its peak flavor and aroma are best enjoyed within the first year of preparation. After this period, the taste may gradually diminish, though it will still be safe to consume if stored correctly.
- Check for Spoilage: Always inspect your stored garlic before use. Any signs of mold, off-odors, or discoloration indicate spoilage, and the batch should be discarded immediately.
Creative Ways to Use Your Homemade Garlic Flakes & Minced
Now that you’ve mastered how to make garlic flakes and dried minced garlic, it’s time to put your culinary creations to good use!
- Rehydration: For recipes that call for fresh minced garlic, simply soak your dried minced garlic or flakes in a little warm water for 10-15 minutes. They’ll plump up and regain much of their texture and fresh flavor.
- Direct Use in Cooking: Toss them directly into soups, stews, casseroles, marinades, or slow-cooked dishes. They rehydrate beautifully in liquids, infusing your food with deep garlic flavor.
- Rubs and Seasonings: Blend dried minced garlic or finely crushed flakes into homemade spice rubs for meats, poultry, or roasted vegetables.
- Garnishes: Sprinkle crispy flakes over salads, pasta dishes, roasted potatoes, or even avocado toast for a delightful crunch and burst of flavor.
- Homemade Garlic Powder: If you want to take it a step further, grind your thoroughly dried garlic flakes or minced garlic in a spice grinder or coffee grinder until you achieve a fine powder. You'll have superior quality garlic powder without any additives!
- Infused Oils: Add dried garlic to olive oil for a flavorful infused oil (consume within a week and store in the fridge, or process correctly for longer shelf life to avoid botulism risks).
Empowering yourself with the knowledge of how to make garlic flakes and dried minced garlic is a simple yet impactful step towards a more flavorful, efficient, and self-sufficient kitchen. You’ll not only save money and reduce food waste but also elevate your cooking with a pure, potent garlic flavor that store-bought options simply can't match. This hands-on approach ensures you always have a convenient, healthy, and superior-quality ingredient at the ready, transforming everyday meals into culinary masterpieces. So, grab some fresh garlic, pick your preferred drying method, and embark on this rewarding journey – your taste buds will thank you!
